

Recently one of the great developers that contribute to Fyne (thanks steveoc64!) pointed out a cool BASIC interpreter on GitHub. It looked like a fantastic opportunity for a weekend project and a chance for a bit of retro indulgence. Whilst the interpreter was pretty full featured it didn’t allow me to play around through a user interface – so I wanted to see how difficult it would be to rectify. I spent a little time reading up (thankfully the old BBC Micro manuals are available online) and racking my brains to remember how they worked and came to the decision that it should be pretty simple.
The main complexity would be identifying the difference between “command mode” (when commands are executed immediately) and “programming mode” (where each line is stored to be executed later) (for this project I would be ignoring the graphical modes – for now). The simple approach I decided on was to assign any line starting with a number to the current program buffer, and any line that was unnumbered would be executed immediately. From here I could pass a complete program, or a single line, to the interpreter for execution. Simple enough, let’s get going :).
A few lines of Go code later (the UI is created in just 25 lines) and a little while in the GIMP to create a pretty overlay and I had a working prototype! I was very satisfied with how realistic the screen looked when the glass glare overlay was combined with a pixelated monospace font :). By laying out a 40×25 character display and auto-scrolling when the output gets too long it was a very satisfactory first version.
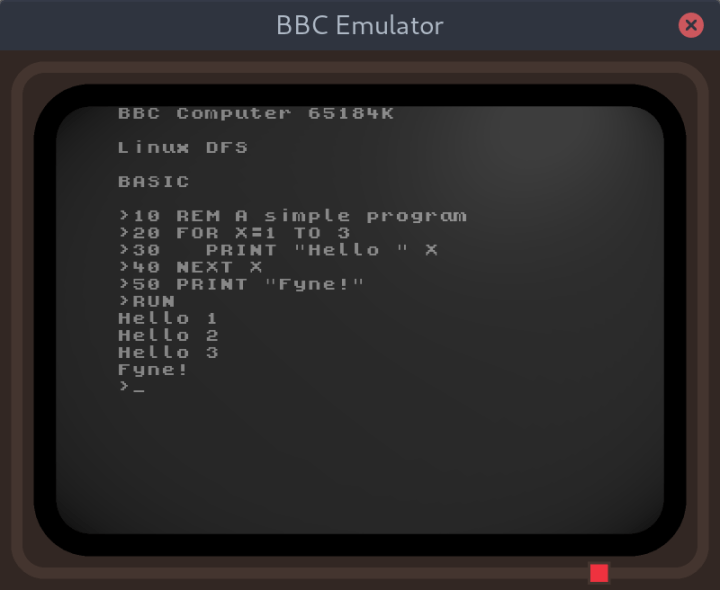
The only real complexity came with handling the input/output for the interpreter. With a few lines of code to specify a Reader/Writer for the API (which was kindly accepted upstream) it was fully functional within the emulator interface. A few hours later and I had implemented some useful new commands (CLS to clear the screen, NEW to start a new program, LIST shows the current program buffer and AUTO inserts line numbers automatically).
That’s pretty much it – this was super easy using the Fyne toolkit, which also means that it will work on Windows, macOS and Linux right out of the box! You can see the project and try it out from the GitHub repository. If you have the Go tools installed then it’s as simple as the following commands:
$ go get -u fyne.io/fyne
$ go get -u github.com/andydotxyz/beebui/cmd/beebui
$ beebui
I hope you enjoy :). Also you should check out Steve’s project – he used the same interpreter to create a cool arcade emulator! It also uses Fyne to display but he took the graphical approach – it already plays Pong 🙂 – check out his project too.
